Omnichannel Commerce
Switching Restaurant POS: How to Go Live in Four Steps
Changing your restaurant POS doesn't have to mean weeks of disruption. The four steps from sign-up to your first order, and what to check at each one.
By Bytize Team1 min read
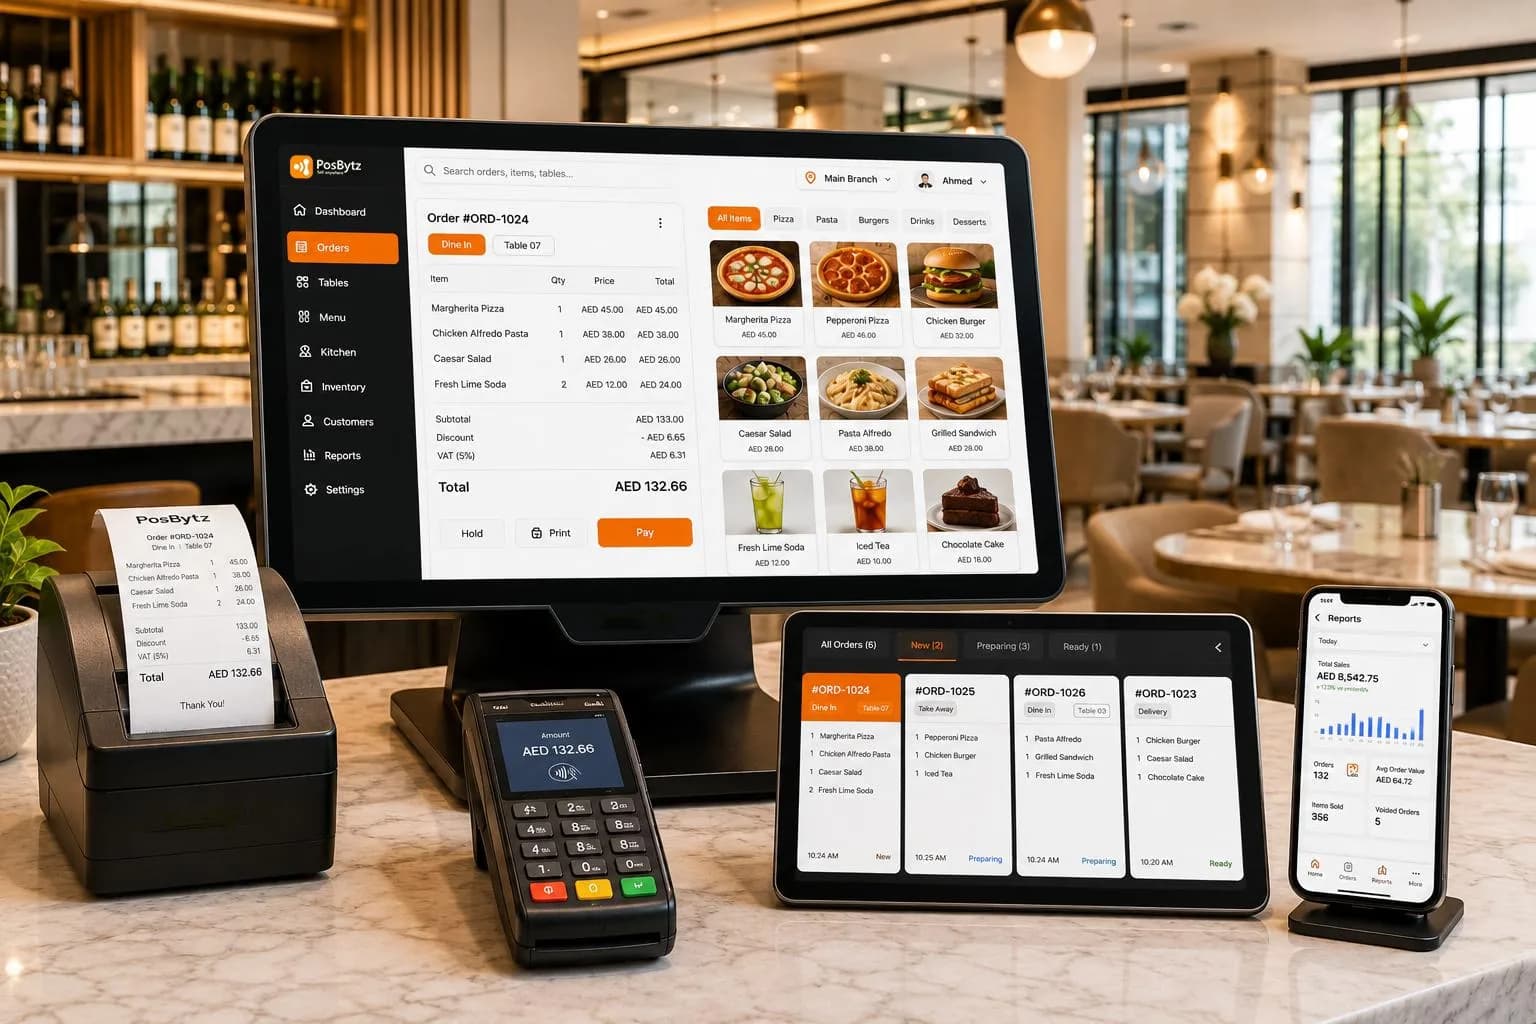
Restaurants put off changing their POS because service can't stop. The switch is easier when it is broken into clear steps, and when the new system brings dine-in, takeaway, delivery and online orders onto one screen from day one.
Step 1: Sign up and pick a plan
Create your account and choose the plan that fits your outlet. If you run several outlets, check that the system gives you central control of menus, stock and pricing, consolidated reporting, inter-branch stock transfers and role-based access for each location.
Step 2: Set up your menu, recipes and tables
Import your menu, recipes and table layout. Recipes matter more than they look: with recipe-level inventory, every sale deducts its ingredients automatically, which is what makes food costing accurate and waste visible.
Step 3: Train your staff
Your team should be confident on the POS, the KOT and the waiter apps before the first live service. A Kitchen Display System helps here too: it routes each order to the right station, tracks prep time and alerts staff when orders are ready.
Step 4: Go live
Start taking dine-in, takeaway and online orders from day one. Make sure the POS keeps working offline and syncs when the connection returns, so a network outage never costs you a sale.
Before you switch, check delivery integrations
Aggregator orders should arrive straight in your POS and kitchen, not on a separate tablet. PosBytz integrates with Zomato, Swiggy, Talabat, Uber Eats, Careem, Jahez and HungerStation, alongside your own branded online ordering page.
Explore PosBytz restaurant POS software, or book a demo.